Private vs. Restricted Node Packages: What's the Diff?
At work, my team is sharing React components with our client by packaging and publishing each component individually. Publishing Node packages is new territory for me, and the learning curve hasn’t always been gentle. I’ll take some time now to clarify a paradigm I initially found confusing: what’s the difference between making a Node package private and restricting access to it?
Private Node packages
A private package is not shared or distributed on its own, and cannot be published to a registry (such as npmjs.com).

Marking a package as private ensures that its code will not be published, even accidentally. For instance, a one-off marketing site using React will contain a package.json file. Unless this file specifies that the project is private, an errant contributor could publish the project code to a package registry, even if the code were proprietary or simply wouldn’t make sense to distribute on its own.
Here’s a sample package.json for a non-distributable project:
    {
      "name": "specific-website",
      "version": "0.0.1",
      "description": "A bespoke website for <Client>",
      "main": "index.js",
      "private": true,
      "scripts": {
      },
      "dependencies": {
      },
      "devDependencies": {
      }
    }
Privacy only affects the ability to publish to a package registry — it won’t affect other ways of sharing code, such as pushing to a Github repo.
As a sidenote, private packages are generally ignored by packaging utilities. For example, Lerna won’t include private packages in its lerna list output unless you pass in the --all flag.
Restricted Node packages
In contrast to private packages, restricted packages can be distributed via a package registry, but only to whitelisted individuals. To use a restricted package, you need an account with the specific registry to which it was published, and you must belong to the organization or team that has access to that package. Otherwise, the package’s URL will 404.
One use for restricted packages is for sharing proprietary code within a company. For example, a custom lazyloader that conforms to studio standards can be used on multiple projects either through copy-pasting the original code over and over (boo), or through publishing the code once to npmjs.com and including it as a dependency on subsequent projects (yay!).
Here’s a sample package.json for a project with locked-down distribution permissions:
    {
      "name": "@company/awesome-lazyloader",
      "version": "0.0.1",
      "description": "A reusable lazyloader for use at <Company>",
      "main": "index.js",
      "license": "UNLICENSED",
      "publishConfig": {
        "access": "restricted"
      },
      "dependencies": {
      },
      "devDependencies": {
      }
    }
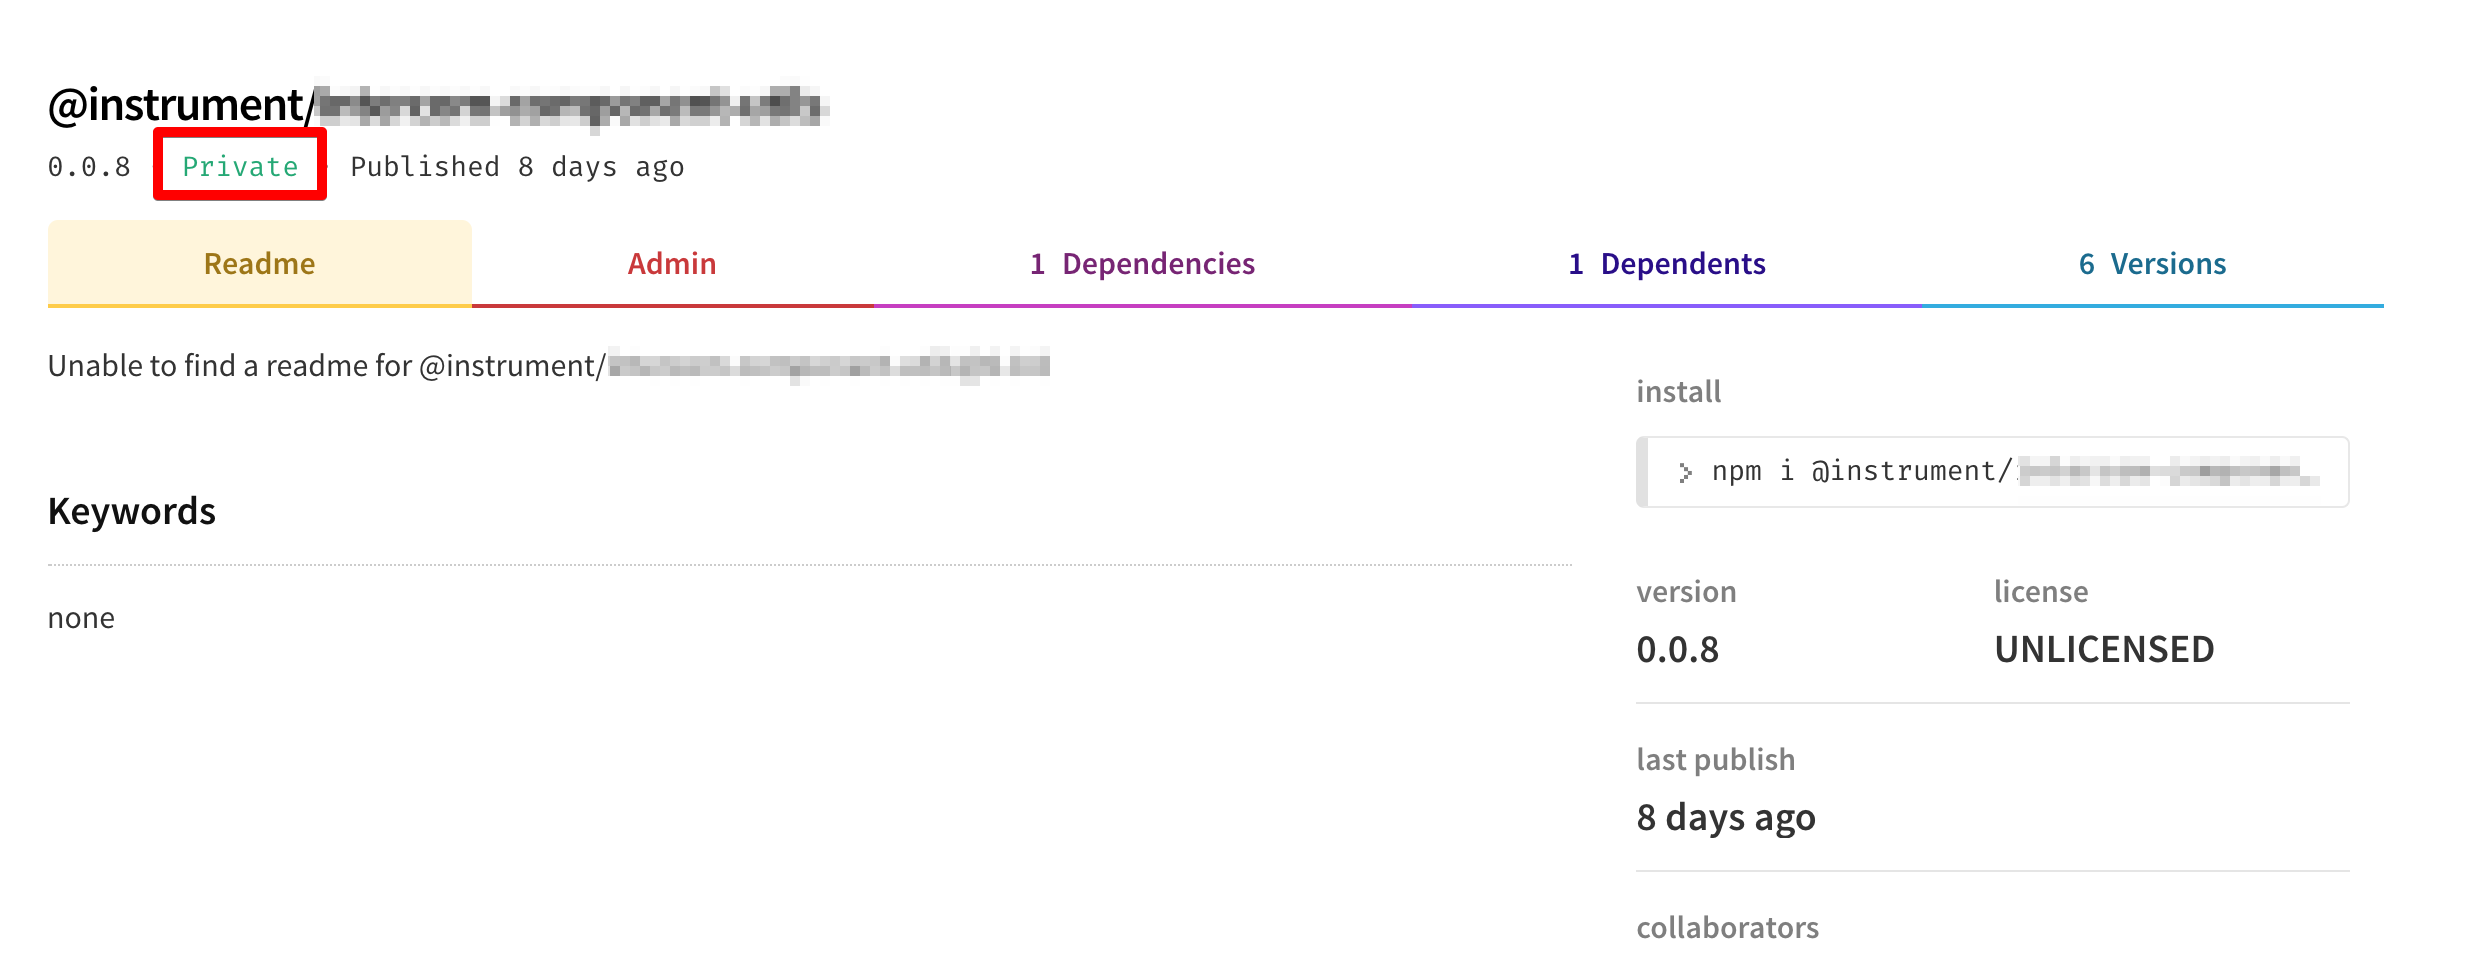
If you publish to npmjs.com, take note that the site UI diverges from actual Node packaging terminology: a restricted package’s UI will have a “Private” badge even though the package isn’t private. (I can’t explain this; it’s just bad UX.)

Licensing
If you are publishing a restricted package, you probably want it to be unlicensed, which means that no one is inherently authorized to modify or redistribute it. You can set this either by removing the license field from the project’s package.json or by setting it to license: "UNLICENSED".
👋🏻
Thanks for reading! I hope this saved you some time. May 2019 be full of writing and sharing great JavaScript. 🥂🥂
Many thanks to Daniel, Ginger, and Thomas for your time, energy, and expertise.